Graphic design vs UX/UI design: What is the difference? Bonus: How to work well with developers.

Graphic designers and UX/UI designers both work on creating visual designs for websites and other digital products, but they have different areas of focus and responsibilities.
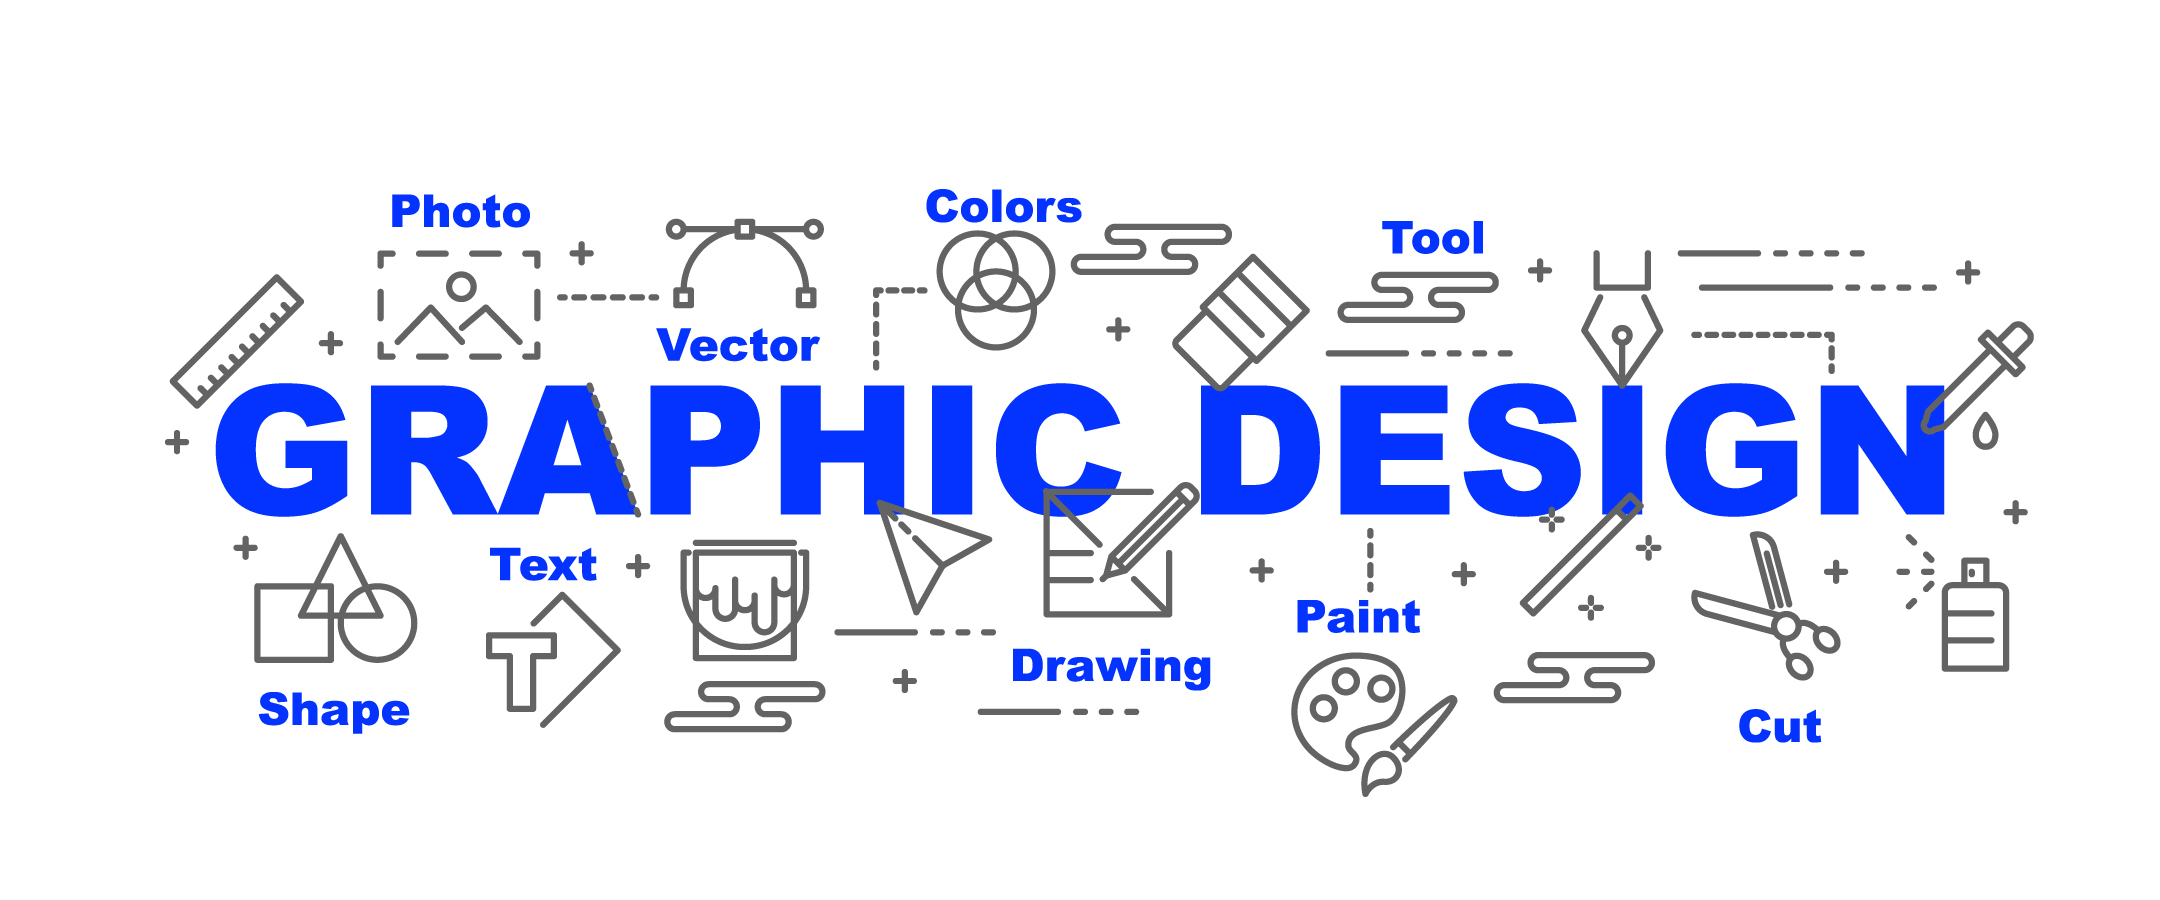
Graphic designers create visual concepts, using a combination of text, images, and graphics to communicate information and ideas to an audience. They may work on projects such as creating logos, brochures, or billboards.
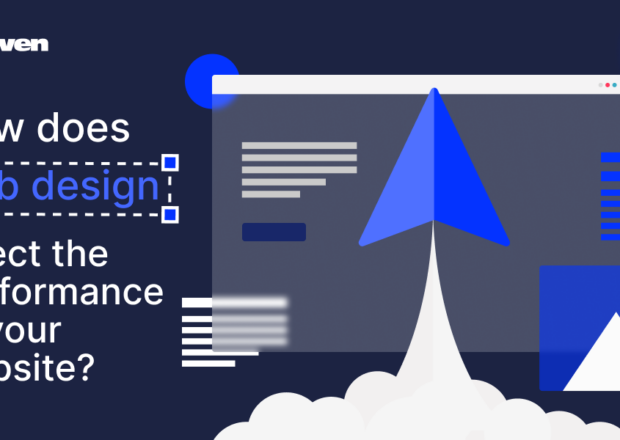
UX/UI designers, on the other hand, focus specifically on the user experience and user interface of a digital product, such as a website or mobile app. They work to create designs that are both aesthetically pleasing and functional, taking into account the needs and goals of the end user. This may involve creating wireframes, prototypes, and user flows to test and refine the design.
In summary, graphic designers focus on creating visual designs for a wide range of products and mediums, while UX/UI designers focus specifically on creating functional and user-friendly designs for digital products.
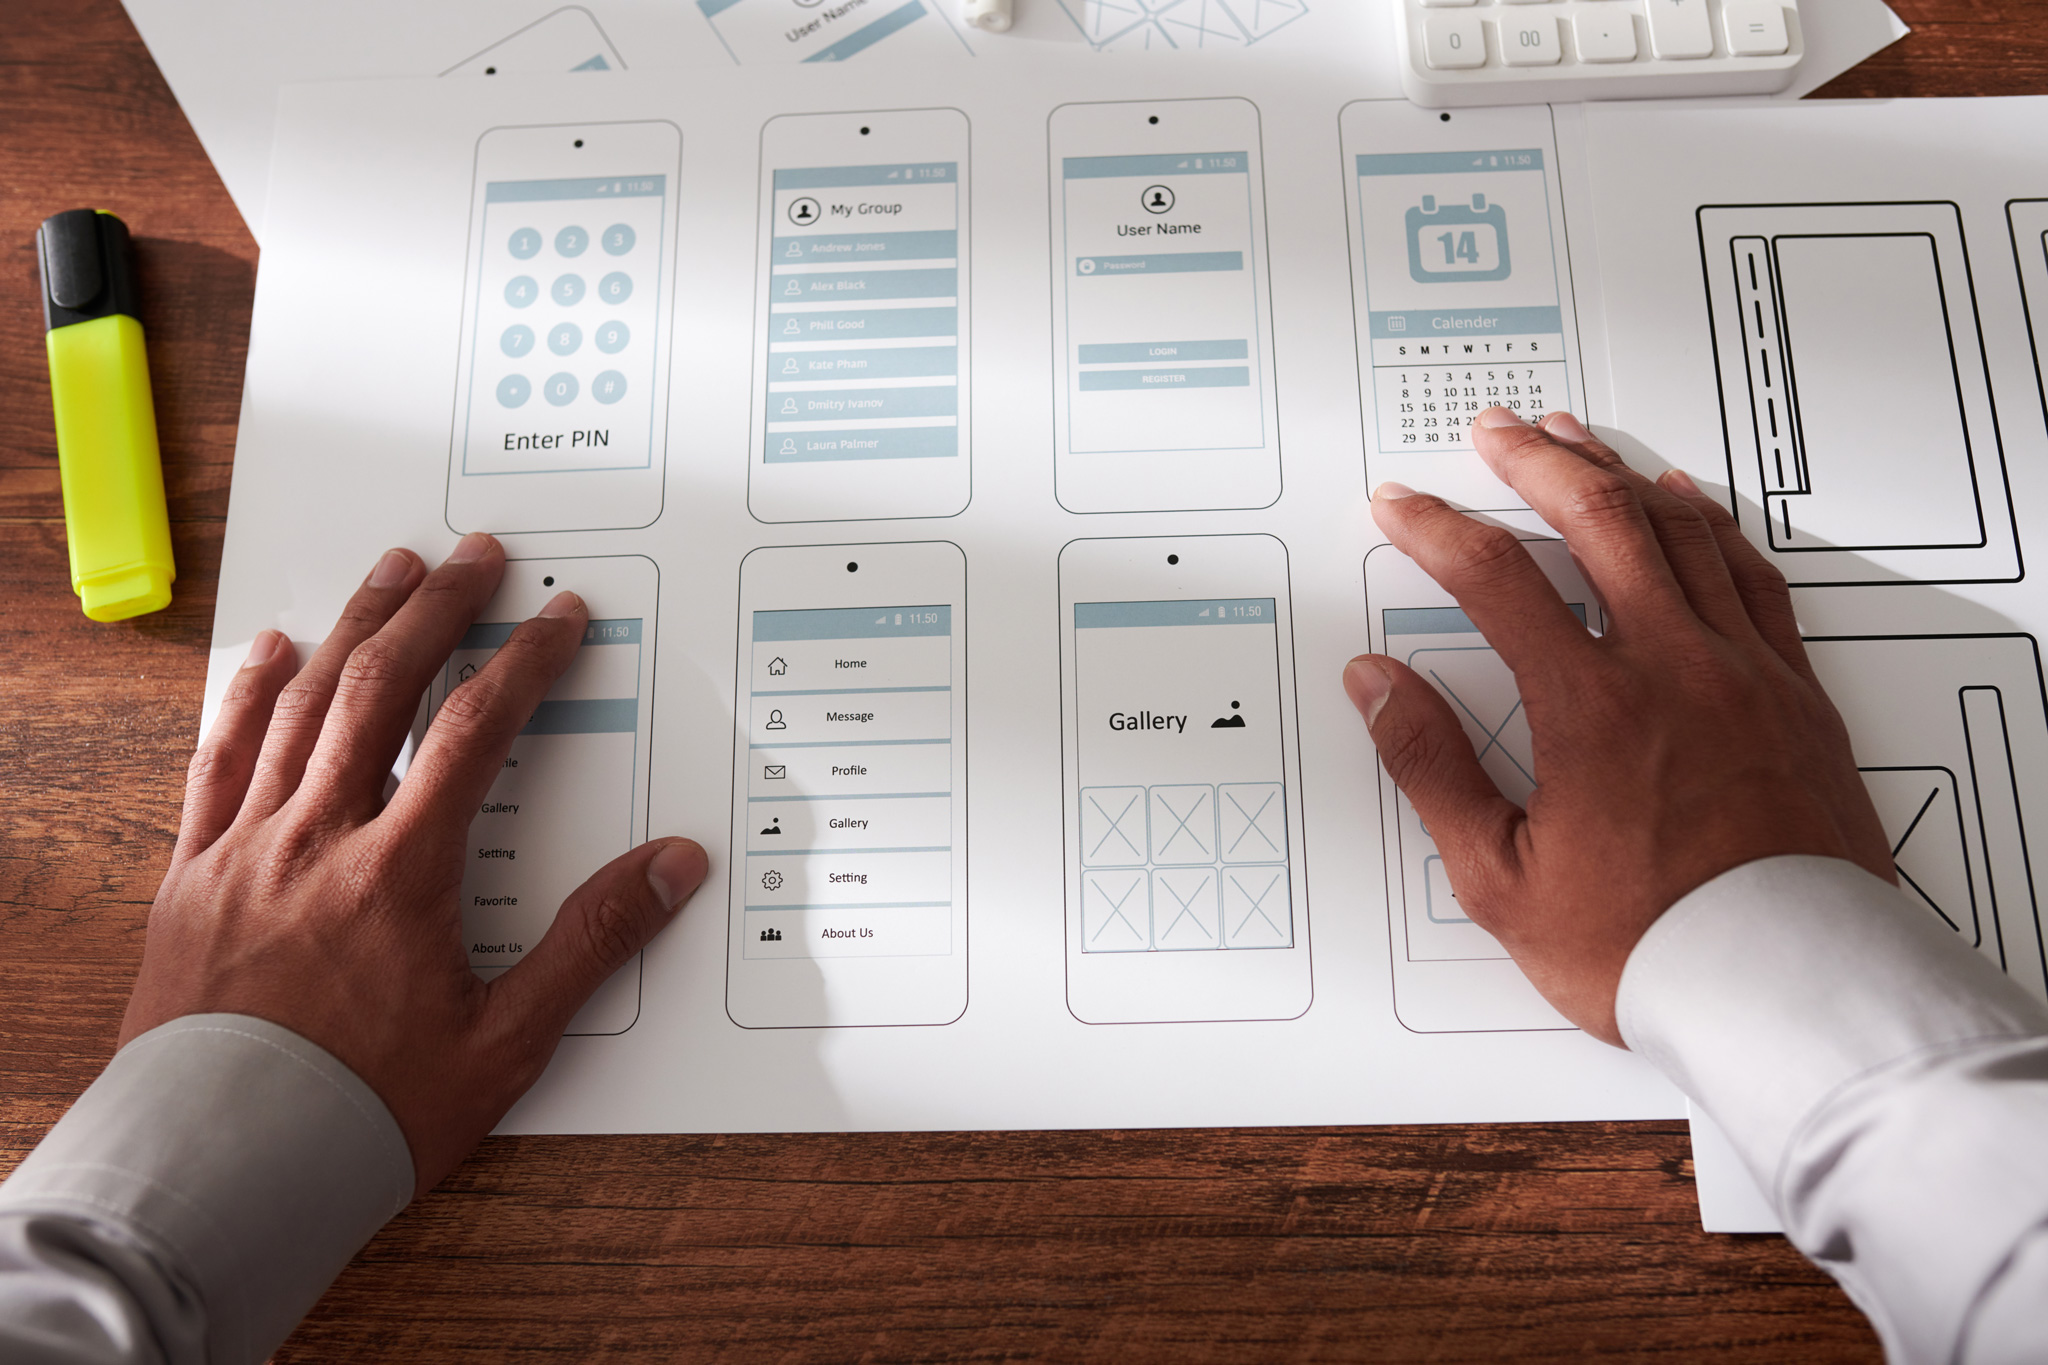
Here are the general steps for creating a UX/UI design for an application:
- Research and understand the target audience: It’s important to have a deep understanding of the people who will be using the application, including their needs, goals, and behaviors. This can be done through user research methods such as interviews, surveys, and usability testing.
- Define the goals and objectives of the design: Once you have a clear understanding of the target audience, you can define the goals and objectives of the design. This may include improving user efficiency, increasing user engagement, or solving a specific problem for the user.
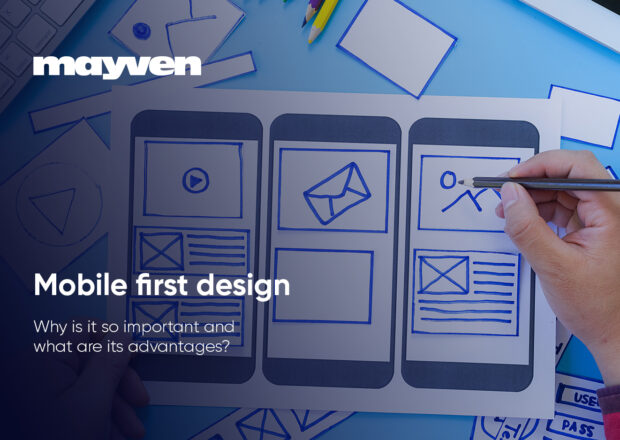
- Create wireframes and prototypes: Wireframes and prototypes are low-fidelity versions of the design that are used to test and refine the layout, navigation, and overall structure of the application. They allow you to get feedback on the design before investing time and resources into creating the final product.
- Design the user interface: This is where you create the visual design of the application, including the color scheme, typography, and overall aesthetic. You should also consider how the design will work across different devices and screen sizes.
- Test and refine the design: It’s important to regularly test the design with users to ensure that it is effective and easy to use. This can be done through usability testing, where users are asked to complete tasks while interacting with the design. Based on the feedback, you can make adjustments and improvements to the design.
- Launch and maintain the design: After the design is complete, it’s important to continue monitoring and analyzing its performance to identify areas for improvement and ensure that it remains effective over time.
Handing off the design to developers

Once the design is complete and approved, the designer should package up all the files for development. This checklist allows you to double check everything before starting development.
- Gather all necessary design files: This should include any design mockups, wireframes, prototypes, and any other relevant design assets whether that is in Figma, Sketch, Photoshop, Indesign or some other tool.
- Organize the design files: Group the design files into folders and name them in a logical and consistent manner. This will make it easier for the developers to find and access the files they need.
- Create a design style guide: A style guide is a document that outlines the design elements and standards for the project. It should include information on colors, typography, layout, and any other design guidelines. This will help ensure that the developers implement the design consistently throughout the project.
- Export the design files in a format that is easy for developers to use: This may include exporting image assets as PNG or SVG files, and exporting wireframes and prototypes as PDFs or in a format that can be imported into a prototyping tool like Figma or FigJam.
- Create a document that explains the design and provides context: It’s helpful to provide a document that explains the design and its underlying logic to the developers. This can include information on the target audience, goals and objectives of the design, and any key design decisions that were made.
- Package the design files and supporting documents into a single folder or archive: This will make it easy for the developers to access all of the necessary design materials in one place.
These are the basic steps to get you started on the right foot!